Showing posts with label Pinterest. Show all posts

Thursday, March 20, 2014

Preschool: Home-Grown Science

 About a week ago, Henry and I embarked on a science journey. A much longer journey than I had originally anticipated. But, it all culminated today and we were able to see the fruits of just a few moments of labor.

I used this recipe to grow a bowl of epsom salt crystals. It looked ridiculously simple and, in fact, it was. I will say, however, that three hours is a joke. The crystals have been growing in the fridge for a week! If I had a sunny window, I'm sure our efforts would have been rewarded sooner. As it is, I didn't mind a bowl of blue mystery liquid taking up the space.

The only thing that worried me was that a smooth frozen-looking layer formed on the top after a few days. I contemplated the possibility that the whole experiment was a bust, but unexpected results are part of science, right? I couldn't help but wonder what I had done wrong, though. As it turns out, I did it just right!

We pulled it out and examined the bumpy, but smooth, layer on top. Then I grabbed a spoon and gently peeled off the top layer (not unlike the top crust of a pot pie) to find the magic hiding inside!


 Crystals!!!
This is the underside of the bumpy crust. 


Even more growing from the bottom of the bowl. 


Henry was completely tickled over the crystals and I let him break up part of the crust and crystals. They are as delicate as they look. I was expecting them to be cold since they'd been in the fridge and they look like ice, but they were surprisingly neutral in temperature.

We'll pull them back out when Audrey gets home from school and let her examine them, too!

Yay, Science! Yay, preschool!

Tuesday, July 23, 2013

Paper Nostalgia

When I was fairly young, perhaps around 10 years old, one of my sisters introduced me to paper dolls. The ones that came with outfits that could be traded out to my heart's content. Of course, I also learned that I had to cut them out myself. Not an easy task for someone of my age. Since this was my first experience, I was concentrating so hard on getting the clothes cut out perfectly, that I cut off the the most important feature of the delicate paper creations: the paper tabs. I discovered, to my dismay, that the clothes would not stay on no matter what I tried as long as they lacked the little tabs. I don't recall what happened with those dolls; perhaps the tabs were cut out and then taped on, or maybe I tried to play with them flat on the ground. Either way, the lesson was very much learned.

I've been thinking about paper dolls lately. I've wanted to give my daughter this experience as well. Well, not the exact experience. She wouldn't have been able to cut out those dolls to save her life. But, I wanted her to experience the joy of something so simple, and even a bit vintage, as a paper doll.

I did some looking around and, while there are a lot of paper dolls out there, not many of them appealed to me. I finally happened across some on Pinterest, and the link led back to here and here. These dolls are delightfully vintage, and wonderfully printer-friendly. Some brilliant person was able to take Hallmark's vintage wrapping paper and convert it into a digital format. Well, I knew a good thing when I saw it and immediately printed them out on card stock.

I think it took me nearly two hours to cut all of the dolls out, but they turned out super cute and my kids love them. That's right. Kids. Plural. Wee Willie was perfect for Henry, with fireman, cowboy, clown, baseball and football players and several other outfits. Dancing Debbie was a no-brainer for Audrey, with such outfits as cowgirl, jester, gypsy and countless fancy dresses.

At first, I cut out just a few outfits and gave them to the kids with the promise of more. I alternated new outfits between the two of them, and it didn't take long for them to wait anxiously at the door for the next new outfit. I also gave them envelopes to keep their little dolls safe.


The kids have been playing with them for several hours. I figure that in and of itself is worth the time, effort and printer ink.

And, perhaps, one day, they will feel nostalgic about paper dolls, themselves, and introduce their own children to them...

Monday, July 8, 2013

Summer Learning: Worksheets and Ice Structures

I've been striving to actually use some of the Pinterest ideas I keep pinning. I've even tried some of the recipes.. but we won't talk about those... no, really. Until I find something super impressive, we shall not speak of it. WE SHALL NOT SPEAK OF IT!

Anyway. I've had some real success with the kid pins. About a week and a half ago, I found a pin that linked to a website that has five weeks of summer worksheets. Five weeks! So, I printed them all out and we've been working on them. They're really cute and each day only has four pages, so my kids don't get overwhelmed or bored. I especially like how I feel like a successful and responsible parent because I'm not letting my daughter forget everything she learned in Kindergarten during summer break.

If you'd like to check the worksheets out, click here. I used the Pre-K for my 4-year-old and the Kinder for my 6-year-old. I suppose I could have used the 1st grade pack for her, but I wanted her to be fairly independent while I was working with her brother.

So far we've completed one week and one day and the kids are still enthusiastic about it, so I'd call that a success.

I was feeling so positive about it this morning, that I actually had the wherewithal to remember a fun little science experiment that I found on Pinterest weeks ago. I think I may have pinned it from 3 or 4 different places and I know this idea isn't new, so I don't suppose I have to give anyone credit.. right? Plus, I'm too lazy to figure out where it was.

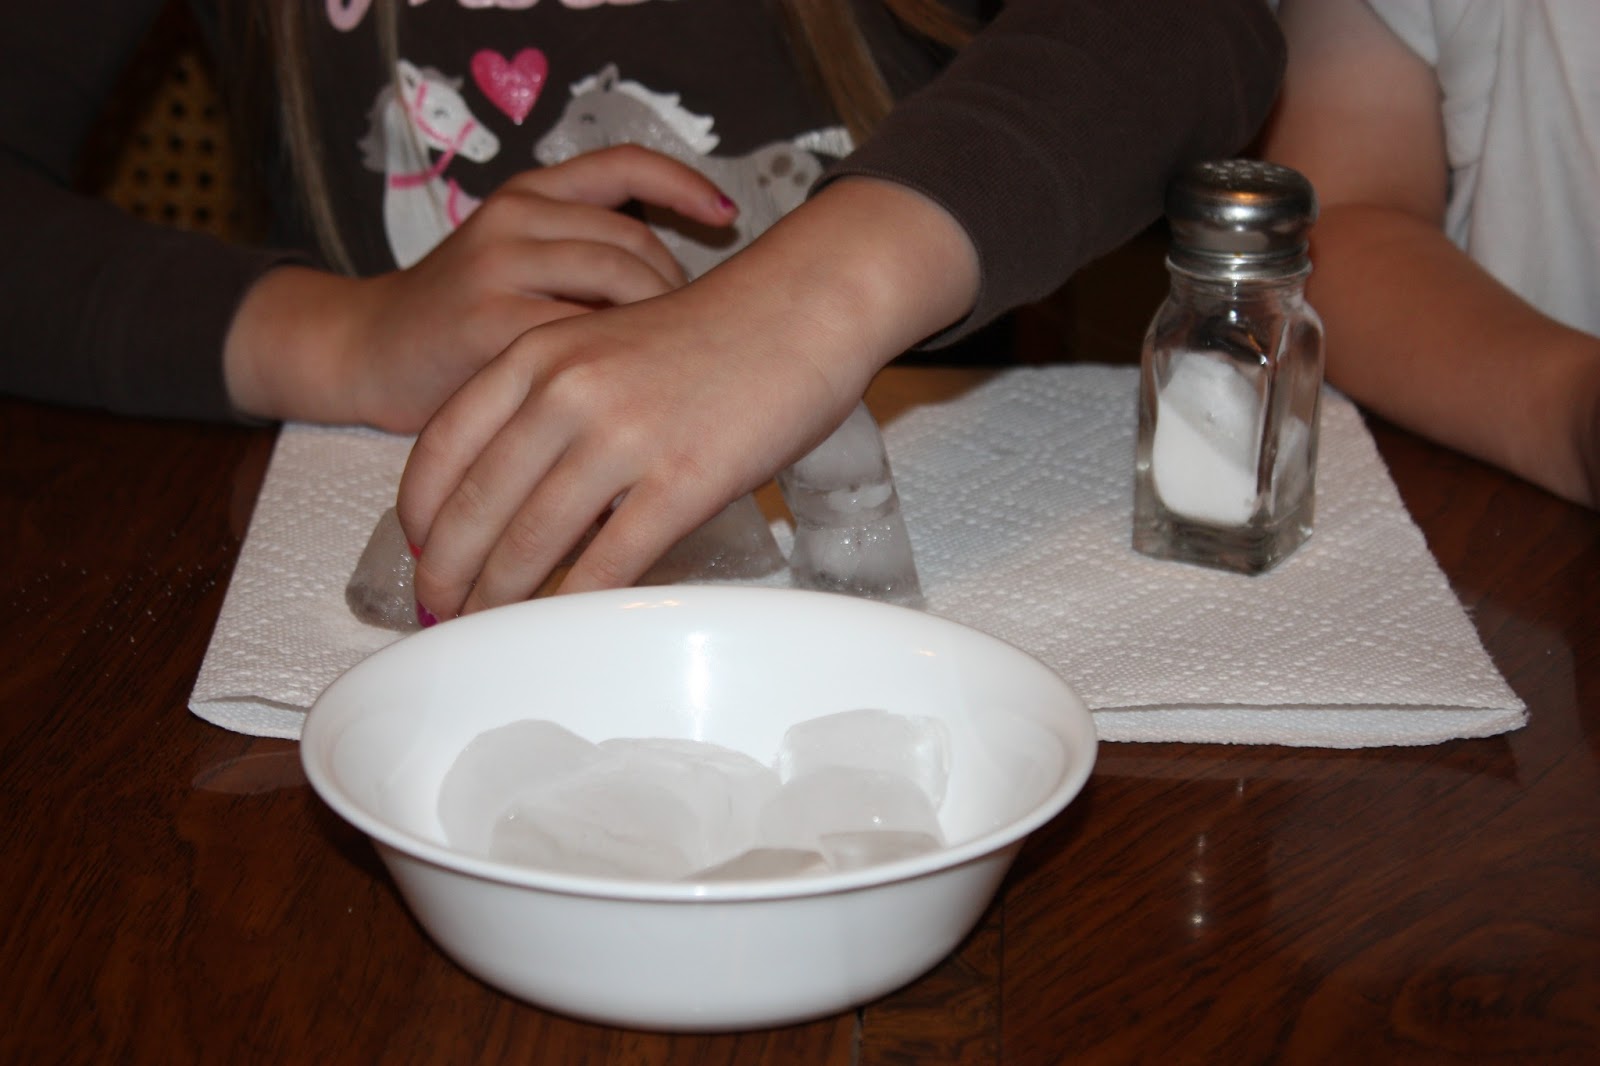
All it takes is ice cubes and salt. (And paper towels if you want to keep the mess to a minimum. We were doing this indoors at the table.) When you pour salt onto an ice cube, it raises the freezing temperature (which comes in handy if you want to make ice cream) and another ice cube placed on top will stick!

So, I let the kids experiment with how much salt it takes to make the cubes stick and they made their own little structures.

Yes, they're still wearing pajamas...


Audrey got the hang of it quickly and made her own little version of Stonehenge..


This is what learning looks like:


:)

Finally, at the end, I decided to try and see how many ice cubes we could stack before the tower would fall. It took my steady hand to get the tower higher than three cubes.


We made it to seven ice cubes. When I tried to put on the eighth, the whole thing toppled. By then the ice cubes were really melty and much colder than normal due to the salt. Burning cold! We all washed our hands right after we took this last picture.

I liked this science experiment because it was simple and we had everything we needed right there at the spur of the moment. Maybe when they get a little older, we can talk about what is happening to the ice on a molecular level, but for now, it was just fun to build something with a new material.

Science is fun!

Monday, June 17, 2013

Father's Day Questionnaire

With Ben away at WLC (Sergeant school), one of the events he has been unable to celebrate at home this year is Father's Day. So, I put together some cute questionnaires for my kids to answer, and then I mailed them out to him. He received them this morning, so I am finally free to post them up here. :)

I found the questions on Pinterest, but just copied them down and designed my own simple form and added a nifty clipart Soldier down at the bottom. I think I tracked down the original idea to Make it Perfect's blog, so I wanted to make sure I acknowledged that. 

Just to make sure Ben could read them, I filled out the kids' answers, but let them sign the bottom, themselves. 


Ben called me this morning and said that he really enjoyed them. I'm just glad that we could send him something to make him smile while he's away.

The kids are also fixed on getting him a present (Audrey is very firm on a specific idea). We will be going to the store sometime this week to pick out something for him. There won't be enough time to mail it out to him, so we will wrap it up and have him open them when he comes home.

Our anniversary is also this week (double whammy). I've already got some ideas percolating, but I won't be able to share them here until after he receives them here at home, so stay tuned for those in a couple of weeks.

Wednesday, June 5, 2013

Googly-Eye Drawing Starter

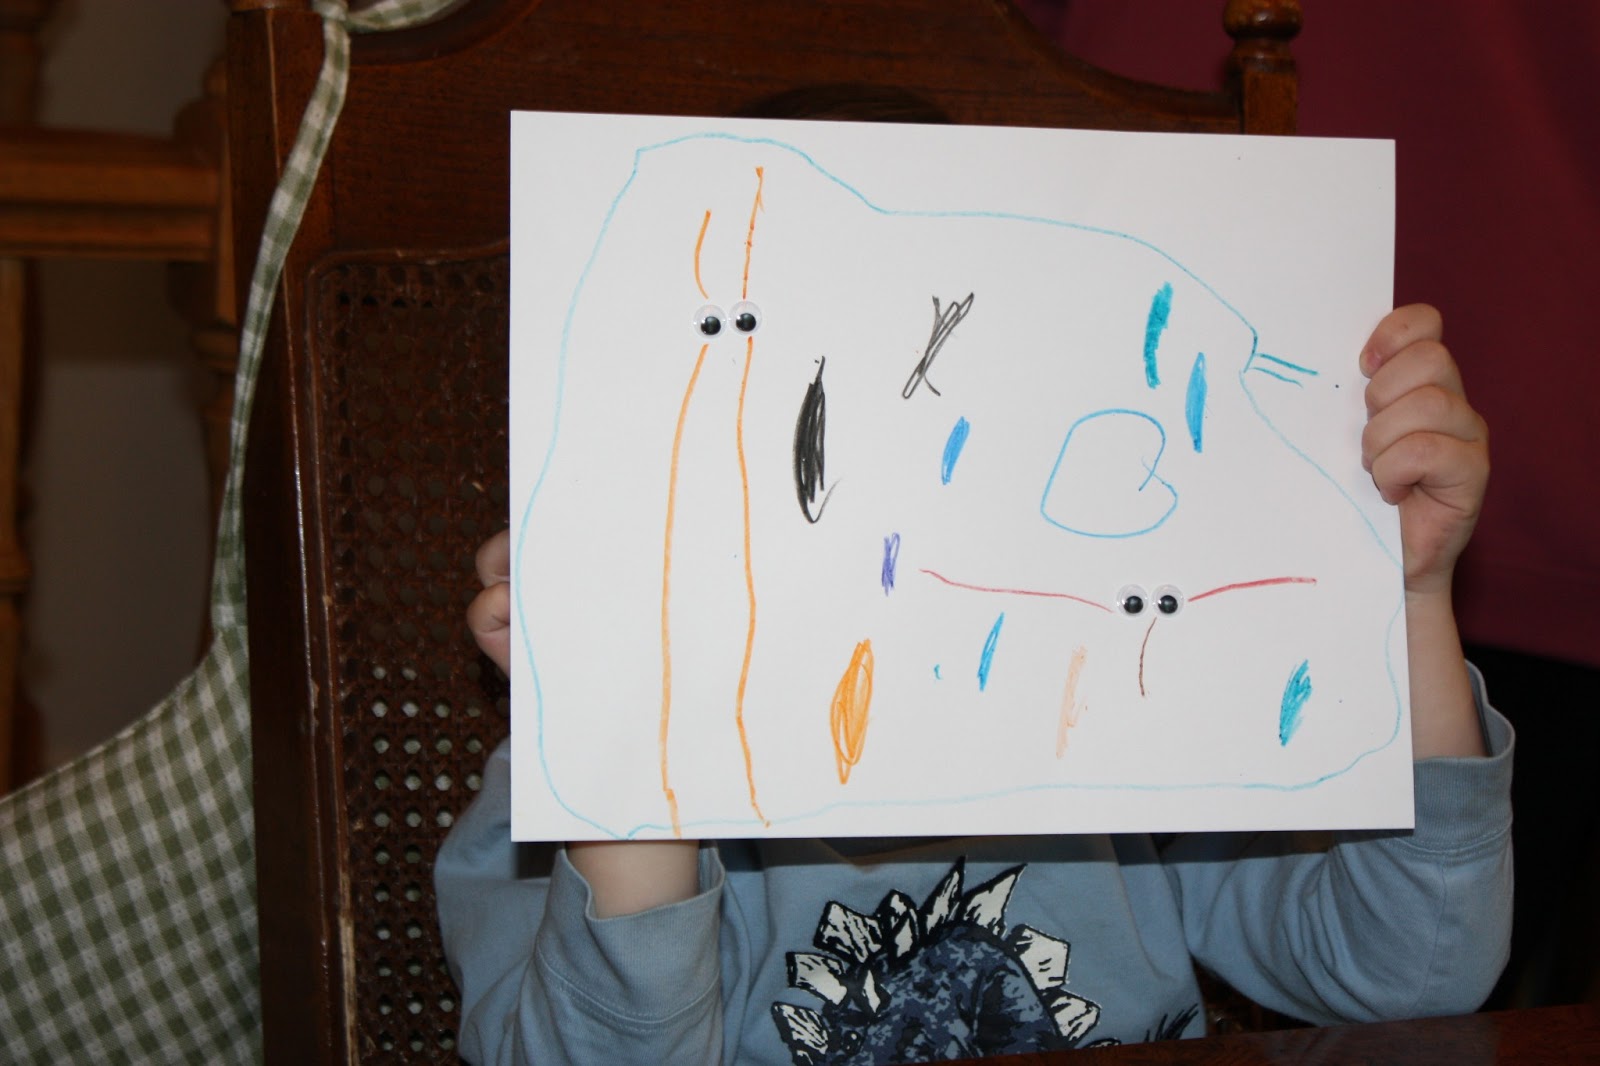
I found this idea on Pinterest, the magnificent wonder that it is. This post by House of Baby Piranha was too simple to pass up, AND I had all the supplies on-hand. Oh, all right, I had to hunt down my glue-sticks, but it all worked out in the end.

It also gave us the chance to crack open the almost-new boxes of crayons we got for FREE at a church swap! Woohoo!

Both of my kids really enjoyed the launching point of this craft. Googly-eyes are always fun!


Henry's pictures are still quite abstract. I see amoebic critters here, don't you?

Audrey drew a farm, complete with a pig, a cow that looks like a horse, a ghost and some dung beetles eating poop. We had just read a book called "Poop-Eaters" the night before. It's nice when the books we read make an impact. :) (Note that both the ghost and the cow have the letters coming out of their mouths backward. Audrey explained that the W and M come out of the mouth first and that's why they are closest.)

Both of these pictures were considered "fridgers" and are still hanging up for the delight of all! We'll be doing this one again at some point.. maybe after we get through the other 5,000 craft pins I have waiting in the wings. ;)

Wednesday, May 8, 2013

Marshmallow and Toothpick Construction

This activity may have been one I recently found on Pinterest, but it's also one I've known about for a long time. (That's just my justification for being too lazy to find the Pinterest source...) I made it more palatable by buying flavored marshmallows. They turned out to be a bit stickier than regular marshmallows, resulting in less-stable structures, but the kids had a blast. Honestly, I was done long before they were, but, like the Baking Soda Swamps, it kept them busy for quite a while and I didn't have to worry about the whining (fighting/screaming/crying/general insanity) that typically comes from their room. 


I made the simple house for Henry because he was really overwhelmed at first and couldn't figure out what to do with his construction supplies.

He got into it, eventually.


I will definitely do this one with the kids again. Maybe next time we'll try regular marshmallows to see if those hold up a bit better.

Thursday, February 7, 2013

Baking Soda Rainbow Swamp OR Pinterest is Magical!

I kept the kids focused on one task for almost an hour! I KNOW! It's like some sort of Christmas miracle... speaking of Christmas, I promised Christmas pictures more than a month ago. Maybe I'll get to it by Valentine's Day...

Anyway. I found this magical kid distracter on Pinterest. There are multiple websites that have this, so I don't know which is the original as far as that goes. I must have pinned it ages ago, but only just went through all my kid-fun pins a few days ago, hoping to come up with something to ease my guilt at having nothing for my nearly-4-year-old boy to do.

So, a little vinegar tinted with food coloring, a dropper and a plate with baking soda in it was all it took to mesmerize my children for much longer than I thought it would. In fact, they probably would have kept doing it if I hadn't worried (by the 3rd plate... each) that I was going to run out of baking soda.


His face says it all.


So does hers.


There were many, many cries of "Cool!" and "Awesome!"

The plates would get swampy and the fizz would get to be less and less and that's when I would switch it out. But they loved every minute of it. Even with all the colors mixed together, each plate was really quite beautiful (for a plate of baking soda and tinted vinegar). I would have taken pictures of the finished plates if my camera battery hadn't died. Next time, I suppose. :)

After a while, they were mixing colors to see what they could come up with. I think when we do it again (yes, we're doing it again sometime soon - the kids were very enthusiastic about repeating the experiment), I will probably offer some additional colors as I only had four this time.

I'd say the entire cost of this project for BOTH kids was about $1.00. Not bad at all.

It was so simple and cheap, though I'll say that I was glad that my kids are not so very young anymore. I had to supervise them, but I did NOT have to run defense for the carpet, chair cushions or other woven fibers.

LinkWithin

Related Posts Plugin for WordPress, Blogger...